
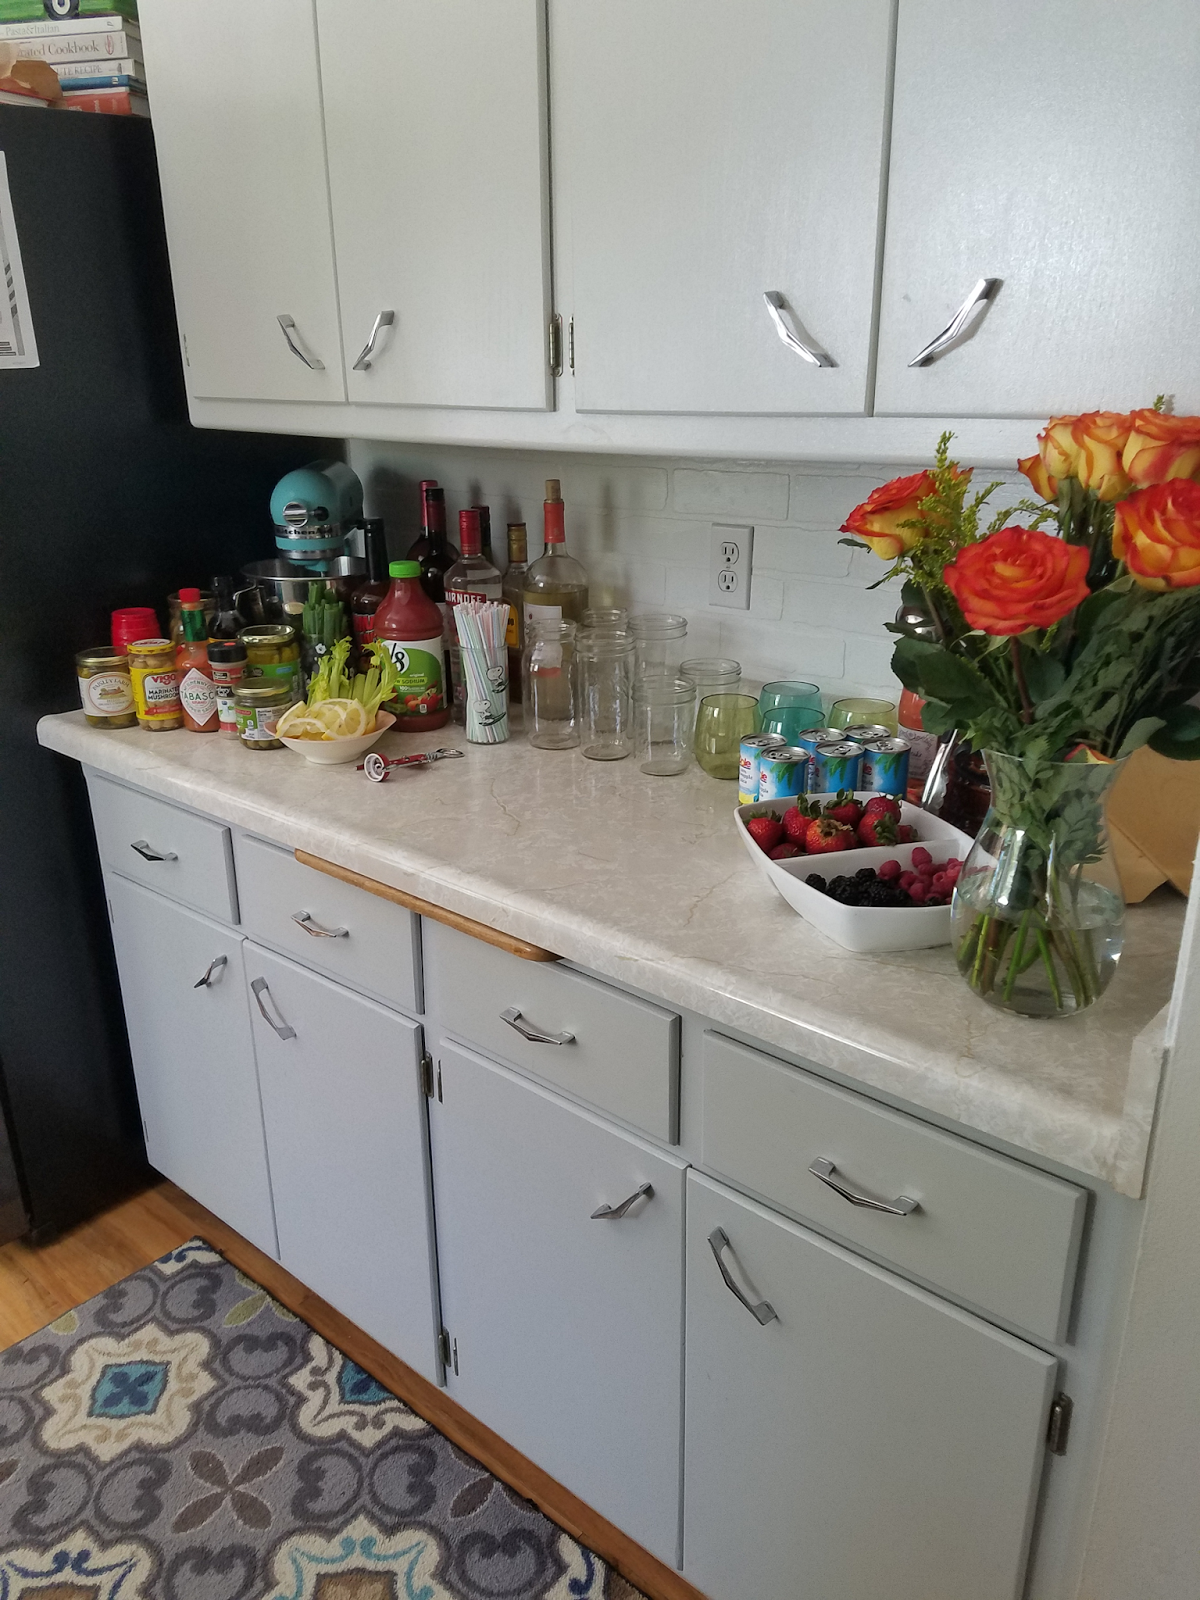
Phase one of our kitchen project is to get it feeling clean and less dated while we save our pennies for the kitchen renovation project we want to do next year. This phase includes painting the cabinets, ripping out the plastic tile backsplash and installing a faux brick backsplash, switching up the lighting and freshening up the walls with a cool-warm gray.
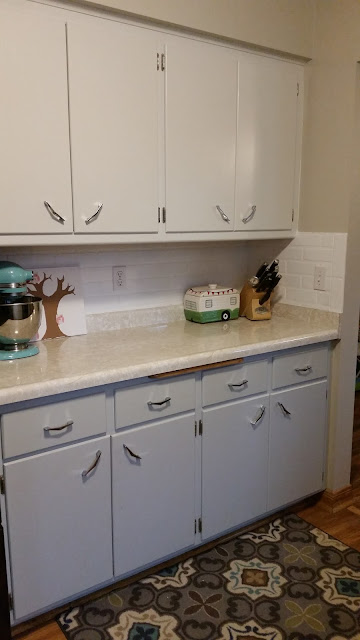
We painted the cabinets. I'm not going to go into extreme detail on that because there are so many tutorials out there. To make a long story short, we cleaned them, lightly sanded them and painted them in a cabinet paint. Darker lowers, one shade lighter uppers. So far they are holding up pretty decent. We painted the inside edges and I've noticed that some of them are peeling, but it's not the end of the world. *Make sure to keep all the hardware for each cabinet together, mixing them up can cause major headaches when trying to reattach them.* We labeled all of the bags and had coordinating letters from bag to cabinet.
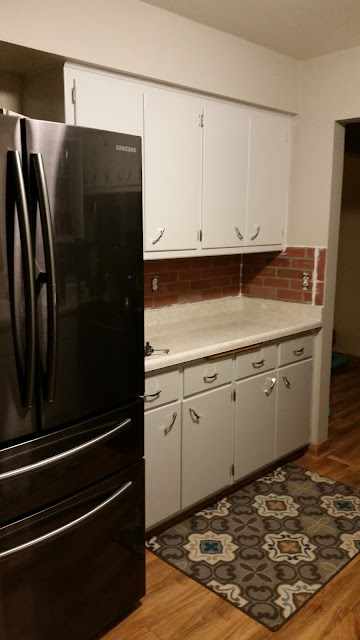
The *faux brick* backsplash I've seen floating around on Pinterest. I wanted something that was not going to be hugely labor intensive, relatively inexpensive, but would make a difference.
This did the trick.

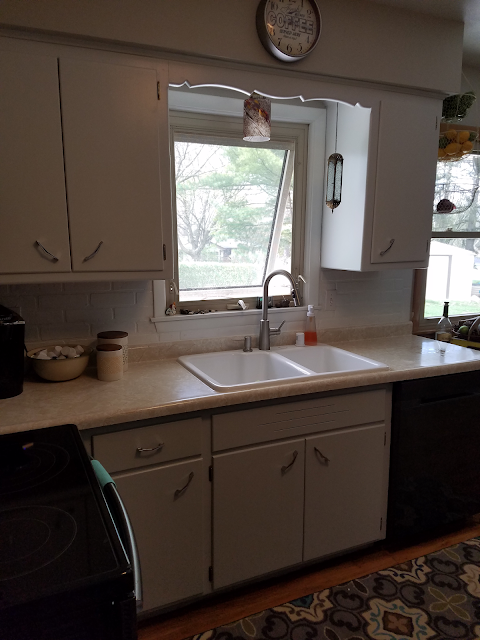
We had this light over our sink.


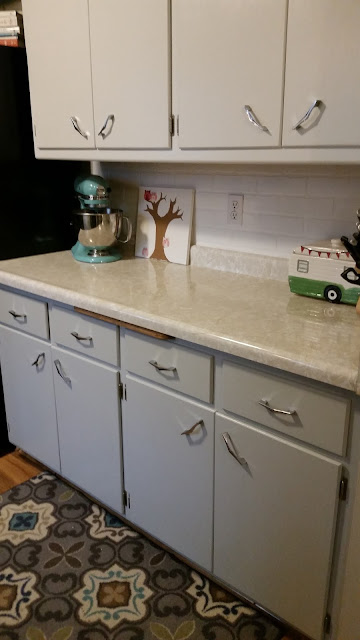
We painted the cabinets. I'm not going to go into extreme detail on that because there are so many tutorials out there. To make a long story short, we cleaned them, lightly sanded them and painted them in a cabinet paint. Darker lowers, one shade lighter uppers. So far they are holding up pretty decent. We painted the inside edges and I've noticed that some of them are peeling, but it's not the end of the world. *Make sure to keep all the hardware for each cabinet together, mixing them up can cause major headaches when trying to reattach them.* We labeled all of the bags and had coordinating letters from bag to cabinet.
The *faux brick* backsplash I've seen floating around on Pinterest. I wanted something that was not going to be hugely labor intensive, relatively inexpensive, but would make a difference.
This did the trick.


I was a little nervous at this point, but figured "what the hell" and continued on. Anything can be fixed with a little *lot* of caulk...

and a boat load of paint.

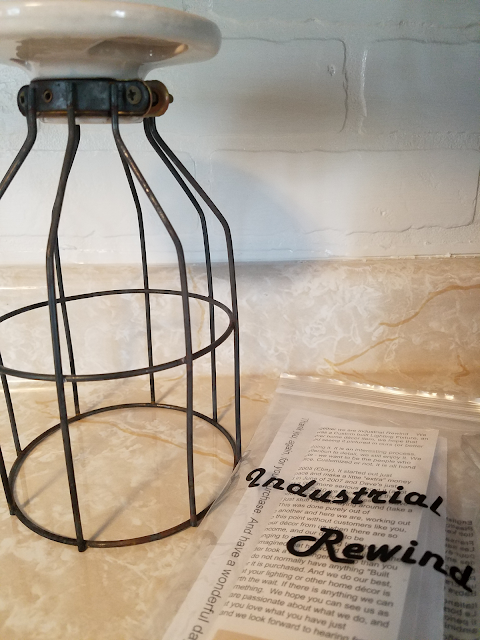
We had this light over our sink.

I wasn't a fan, so I found this one.

and ended with this:


Thanks for sharing this sites visitor can really enjoy and take some important notificationbif any aspirants want to join Bank Po Maths Coaching in Jaipur Then Truemaths is the leading coaching institute.
ReplyDelete